This method is applicable not only to Raspberry Pi but also to Linux.
This article was written based on apache on Raspbian OS.
And, for SSL, ZeroSSL, which can be used for free, was used.
How to get Zero SSL will be organized separately next time.
First, first save the 3 downloaded ZeroSSL files in the desired path.
You can either use a command line or use an FTP program.
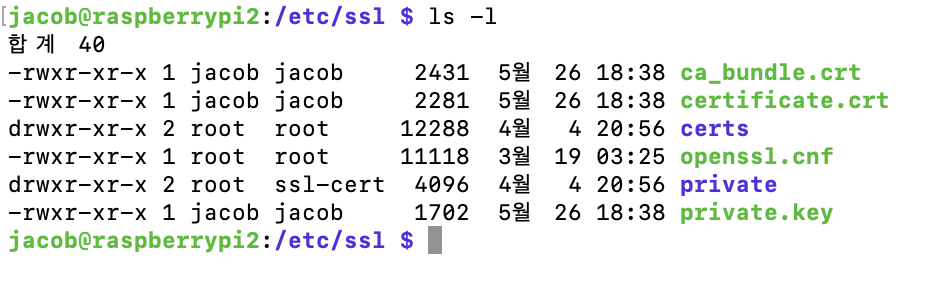
Based on ZeroSSL, there are three types of certificate files below.
ca_bundle.crt
certificate.crt
private.key
I saved it in /etc/ssl/ .

I used ‘filezilla’ as the FTP program, and if I just pass it over, permission problems occur, so I gave 777 permission to the ssl directory, copied it, and then changed the permission again.
grant write permission
/etc $ sudo chmod -R 777 ssl
After copying, restore permissions
/etc $ sudo chmod -R 755 ssl
After that, you can edit the configuration file, and there is only one file to modify, and you can edit it using nano or vi as shown below.
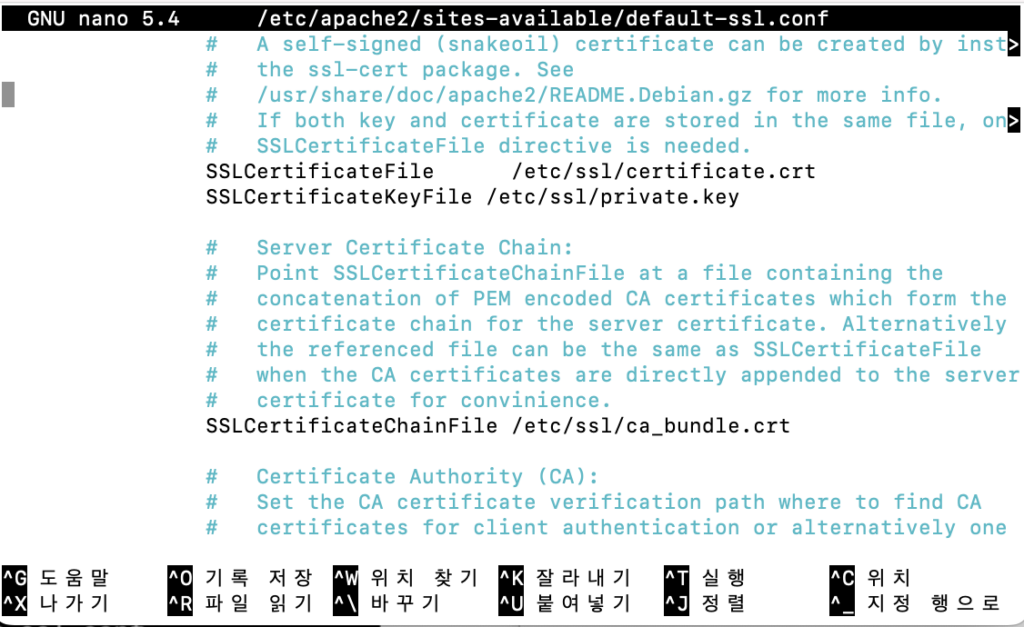
$ sudo nano /etc/apache2/sites-available/default-ssl.conf
After that, you can change the three parts of the file to the path and file name where the above certificate file is stored.
As shown in the figure below, remove the commented part and replace the three parts with the path where the certificate file is saved.
SSLCertificateFile /etc/ssl/certificate.crt
SSLCertificateKeyFile /etc/ssl/private.key
SSLCertificateChainFile /etc/ssl/ca_bundle.crt
After making changes, save them in the order of Control+O -> Enter -> Control+X.
Then restart apache and everything will be done.
$ sudo service apache2 restart
After that, if you connect with https, you can see that a lock has been created as shown below.

Also, I will post in the next article how to redirect to automatically go to https even when connecting via http.